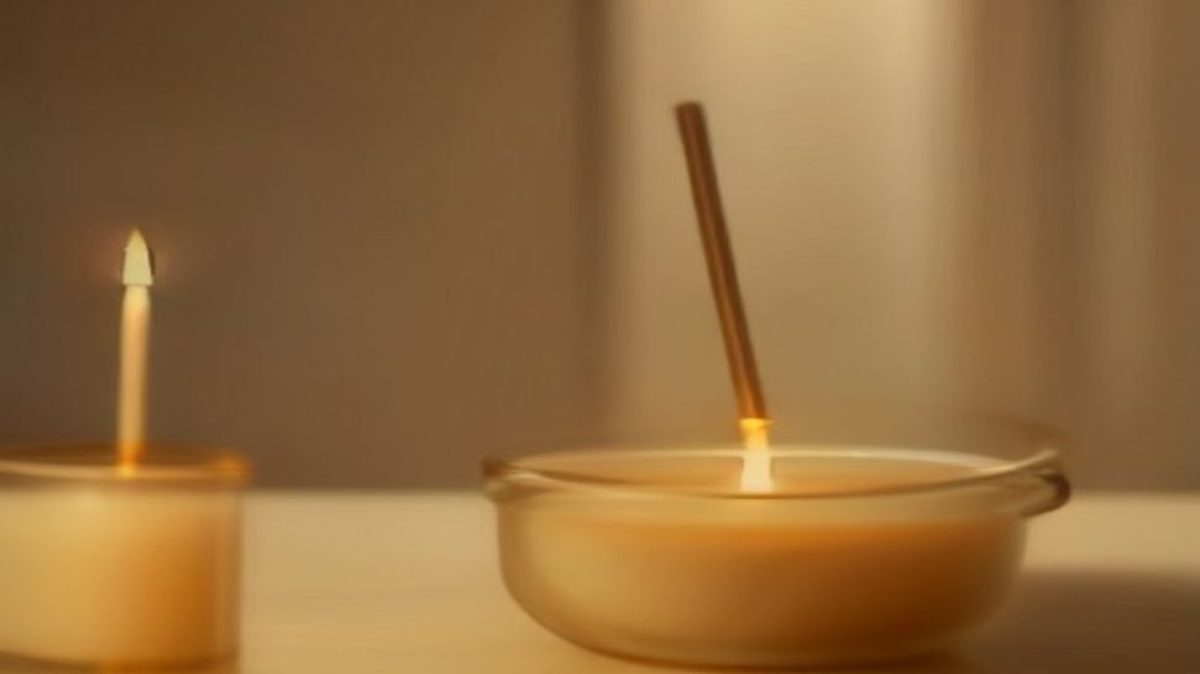
在诺洛工作室做芳香咨询时,我常会观察客人的用香习惯。发现一个很普遍的现象:很多朋友在点完香薰蜡烛后,会习惯性地凑近,像吹生日蜡烛一样“呼”地一口吹灭。
从日常经验来看,这似乎是最直接的灭火方式。但在香薰蜡烛的使用中,这其实是一个需要纠正的误区。今天我们就来聊聊,为什么专业芳香师都不建议用嘴吹灭蜡烛,以及正确的灭烛方式到底是什么。
为什么不建议用嘴吹灭蜡烛?
用嘴吹灭蜡烛,本质上是通过强气流带走热量并吹散可燃气体。但对于香薰蜡烛而言,这种粗暴的方式会带来三个直接问题:
- 产生大量黑烟:蜡烛燃烧时,火焰周围的温度极高。突然的强气流会瞬间打破燃烧平衡,导致蜡蒸气无法完全燃烧,产生大量含有碳颗粒的黑烟。这不仅会熏黑玻璃杯壁,还会散发出一股焦糊味,破坏刚建立好的空间香气。
- 烛芯倒伏或断裂:香薰蜡烛的烛芯通常较细且脆弱。吹气时的气流很容易让高温下的烛芯倒伏在蜡液中,或者折断。一旦烛芯倒伏,下次点燃时就会非常困难,甚至导致蜡烛直接报废。
- 高温蜡液飞溅:吹气时,气流会扰动表面的液态蜡池。如果蜡池较深,高温蜡液可能会飞溅出来,存在烫伤皮肤或损坏家具的风险。
灭烛的科学原理:平稳隔绝氧气
要理解正确的灭烛方式,首先要明白燃烧的条件:可燃物、温度和氧气。既然不能破坏温度和可燃物(烛芯与蜡液),最科学的方法就是平稳地隔绝氧气。
在专业的香薰工具中,我们通常使用灭烛罩或烛勾来实现这一目的。
- 灭烛罩(Snuffer):一个小巧的金属钟罩。将它轻轻盖在火焰上,火焰会因为氧气耗尽而自然、平稳地熄灭。这种方式不会产生气流扰动,完美避免了黑烟和蜡液飞溅。
- 烛勾(Dipper):这是一种更古典的工具。用金属勾将烛芯轻轻按倒,使其浸入液态蜡池中,然后迅速扶正。烛芯没入蜡液的瞬间,氧气被隔绝,火焰熄灭。同时,液态蜡包裹烛芯,能在下次点燃时起到助燃作用。
正确的灭烛与后续养护步骤
熄灭蜡烛只是第一步,灭烛后的几十秒,是决定蜡烛下次燃烧状态的关键期。建议养成以下习惯:
- 平稳灭烛:使用灭烛罩盖灭,或用烛勾将烛芯按入蜡液后扶正。
- 调整烛芯:灭烛后,烛芯周围的蜡液还未凝固。此时用工具(或牙签)将烛芯拨正,确保它处于蜡烛正中央。这能防止下次燃烧时出现“偏烧”或挂壁现象。
- 清理与修剪:等蜡液完全凝固、烛芯变硬后,用灭烛后的烛勾或专用剪刀,将烛芯顶端的碳化部分(那个小黑球)修剪掉,保持烛芯长度在 5-8 毫米左右。这能确保下次点燃时火焰稳定,不再产生黑烟。
用香是一件取悦自己的小事,而正确的工具与习惯,能让这份体验更持久、更安心。下次点蜡烛时,不妨放下“吹气”的习惯,试试用灭烛罩优雅地结束这次用香吧。
During aroma consultations at NOLO Base studio, I often observe how guests use their candles. I’ve noticed a very common habit: many people instinctively lean in and blow out their scented candles just like they would a birthday cake candle.
From a daily life perspective, this seems like the most straightforward way to extinguish a flame. However, in the context of scented candles, this is actually a misconception that needs correcting. Today, let’s talk about why professional aromatherapists don’t recommend blowing out candles, and what the proper extinguishing methods actually are.
Why You Shouldn't Blow Out Scented Candles
Blowing out a candle essentially relies on a strong airflow to dissipate heat and displace combustible gases. But for a scented candle, this abrupt method causes three direct issues:
- Excessive Black Smoke: The temperature around the flame is extremely high during combustion. A sudden strong airflow instantly disrupts the combustion balance, causing wax vapors to burn incompletely. This produces a large amount of black smoke containing carbon particles. It not only blackens the glass vessel but also releases a burnt odor, ruining the carefully crafted ambient scent.
- Wick Bending or Breaking: Scented candle wicks are usually thin and delicate. The airflow from blowing can easily cause the hot wick to bend into the wax pool or snap. Once the wick is submerged or broken, relighting the candle becomes incredibly difficult, potentially ruining it entirely.
- Hot Wax Splashing: Blowing agitates the surface of the liquid wax pool. If the pool is deep, hot wax can splash out, posing a risk of skin burns or damage to furniture.
The Science of Extinguishing: Smoothly Cutting Off Oxygen
To understand the correct extinguishing method, we need to recall the fire triangle: fuel, heat, and oxygen. Since we shouldn't disrupt the heat or the fuel (the wick and wax), the most scientific approach is to smoothly cut off the oxygen supply.
In professional candle care, we typically use a candle snuffer or a wick dipper to achieve this.
- Candle Snuffer: A small metal bell-shaped tool. Gently placing it over the flame cuts off the oxygen, allowing the flame to die out naturally and smoothly. This creates no airflow disturbance, perfectly avoiding black smoke and wax splashing.
- Wick Dipper: A more traditional tool. You use the metal hook to gently push the wick into the liquid wax pool, then quickly pull it back upright. The moment the wick is submerged, oxygen is cut off, and the flame extinguishes. Meanwhile, the liquid wax coats the wick, acting as a primer for an easier relight next time.
Proper Extinguishing and Post-Care Steps
Extinguishing the candle is only the first step. The few seconds immediately after are crucial for determining how well the candle will burn next time. I recommend building the following habits:
- Extinguish Smoothly: Use a snuffer to cover the flame, or a dipper to submerge the wick in the wax and then straighten it.
- Center the Wick: Right after extinguishing, the wax around the wick is still liquid. Use a tool (or a wooden stick) to gently push the wick back to the exact center. This prevents tunneling or uneven burning on the next light.
- Clean and Trim: Once the wax has fully solidified and the wick is hard, use the dipper or dedicated scissors to trim off the carbonized tip (the little black ball). Keep the wick length at about 5-8 millimeters. This ensures a stable, clean flame next time without producing black smoke.
Enjoying aromatherapy is a small pleasure meant for yourself. Using the right tools and habits ensures this experience lasts longer and remains safe. Next time you light a candle, try skipping the blowing habit and gracefully end your session with a snuffer.